My first attempt at a laser-cut chessboard was almost six years ago. Oblivious to how laser cutters optimally operate, I cut through 1/2 inch plywood, nearly charring all the pieces. Since then, I’ve made various improvements to the design of the board and to my own craftsmanship resulting in a beautiful board with pieces that fit perfectly and magnets to neatly secure the board (lid) to the base (for storing the pieces).
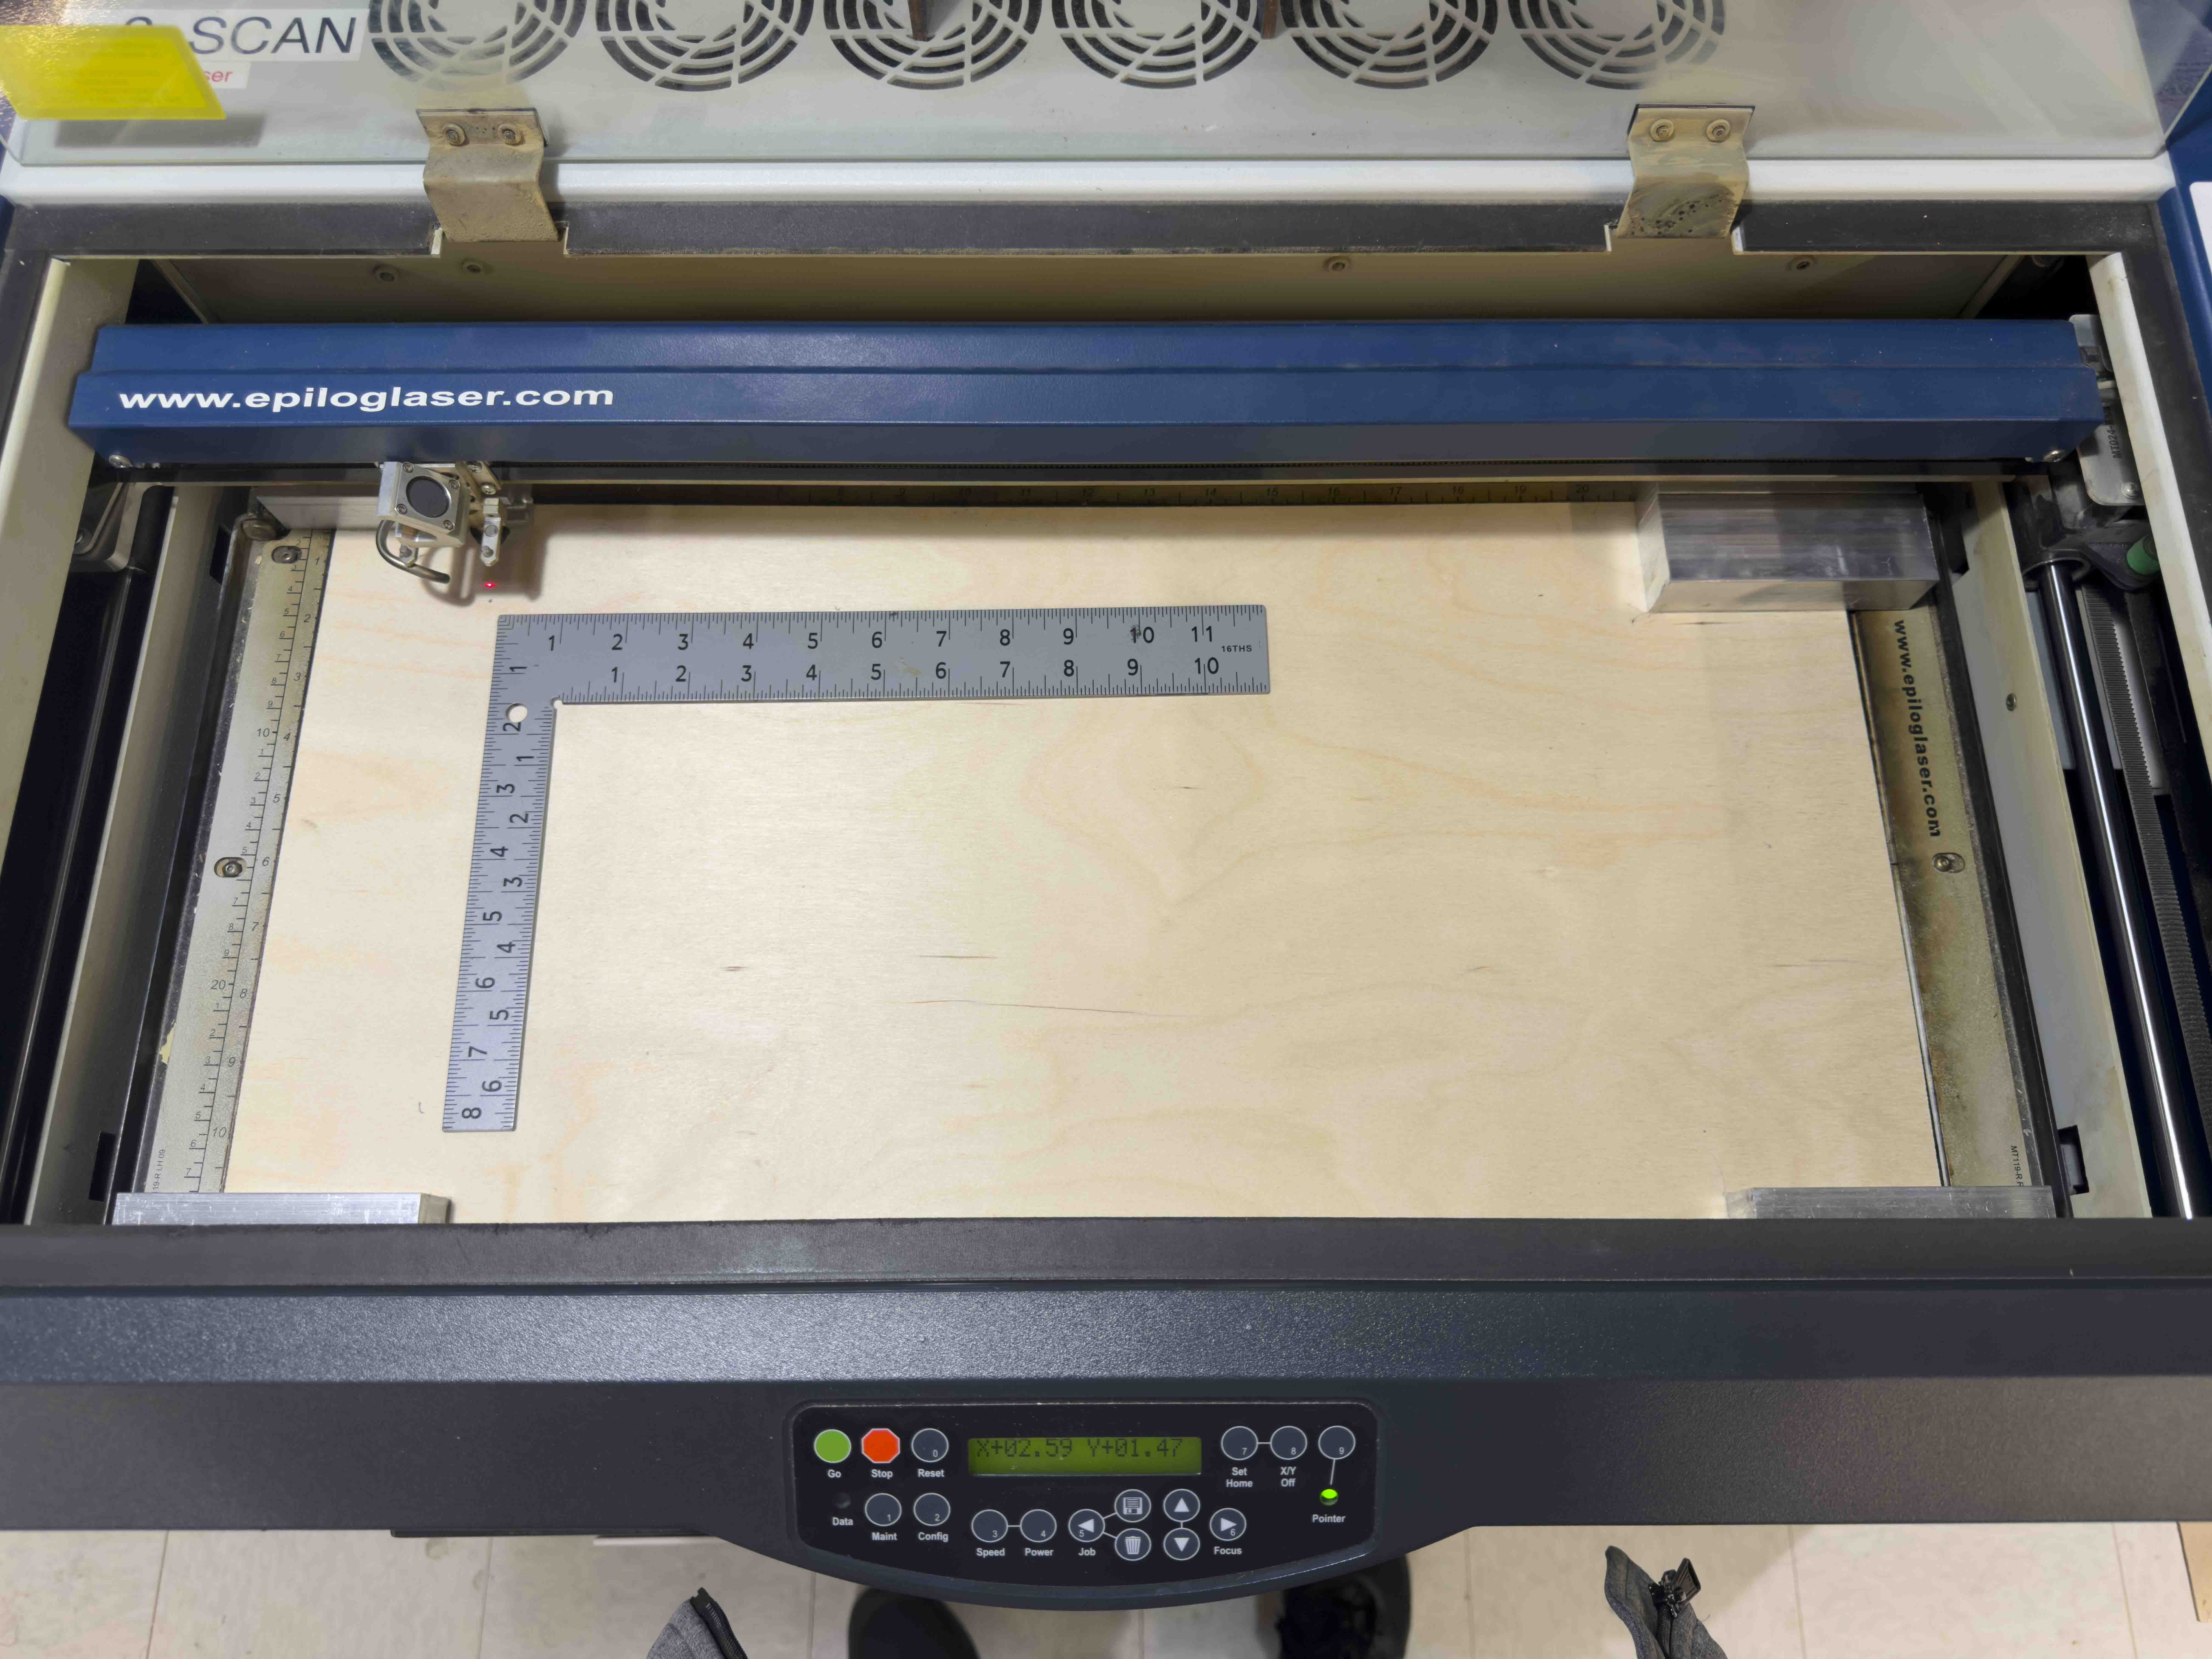
Setting X/Y to a custom position; using thin weights to keep the plywood flat while cutting.
Usually, laser cuts over large lengths on a piece of plywood make the quality of the cut susceptible to the natural curving of plywood resting in a humid environment. Because this cut required a space of 16x8in, I needed to either reduce the amount of the design I cut at one time to 8x8in or just weights to counter the curving.
Using weights in a laser cutter can be dangerous as the weights used (in this case alumminium blocks) can interfere with the movement of the 2-axis laser arm. To account for these movements, I set the X/Y home to be in the center of the cutting bed.
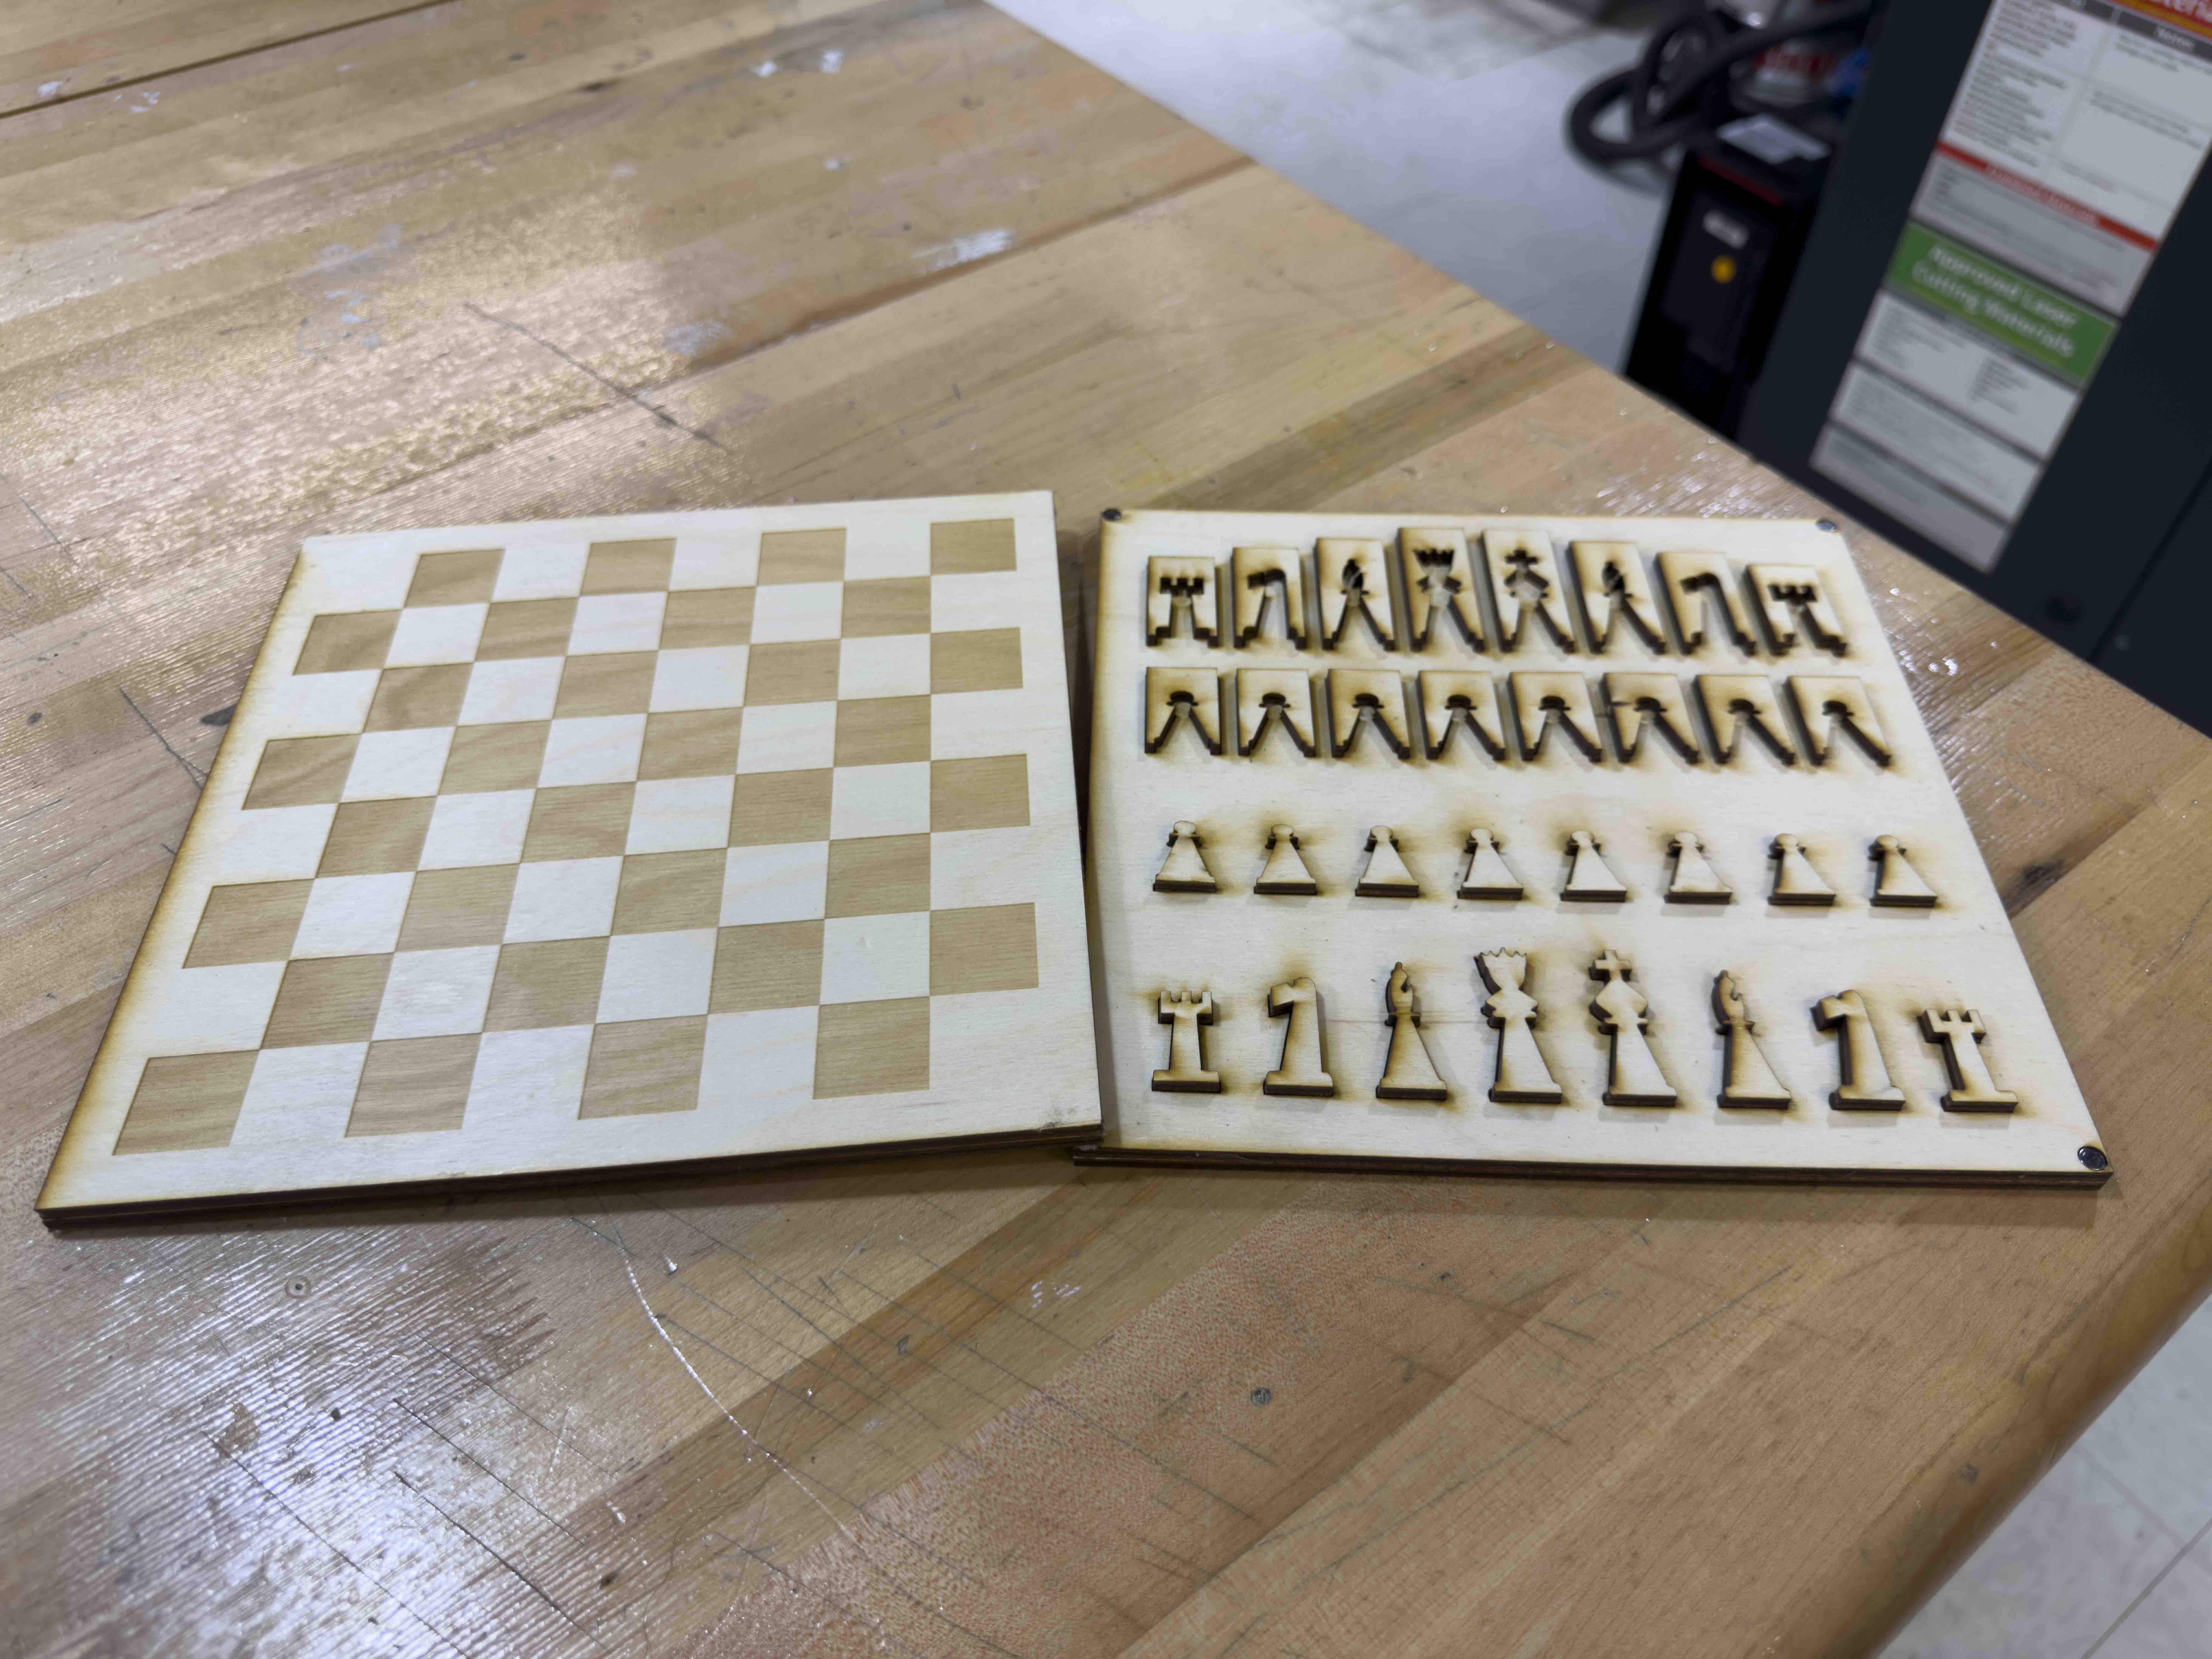
Finished board with a magnet holding one corner of the board to the base.
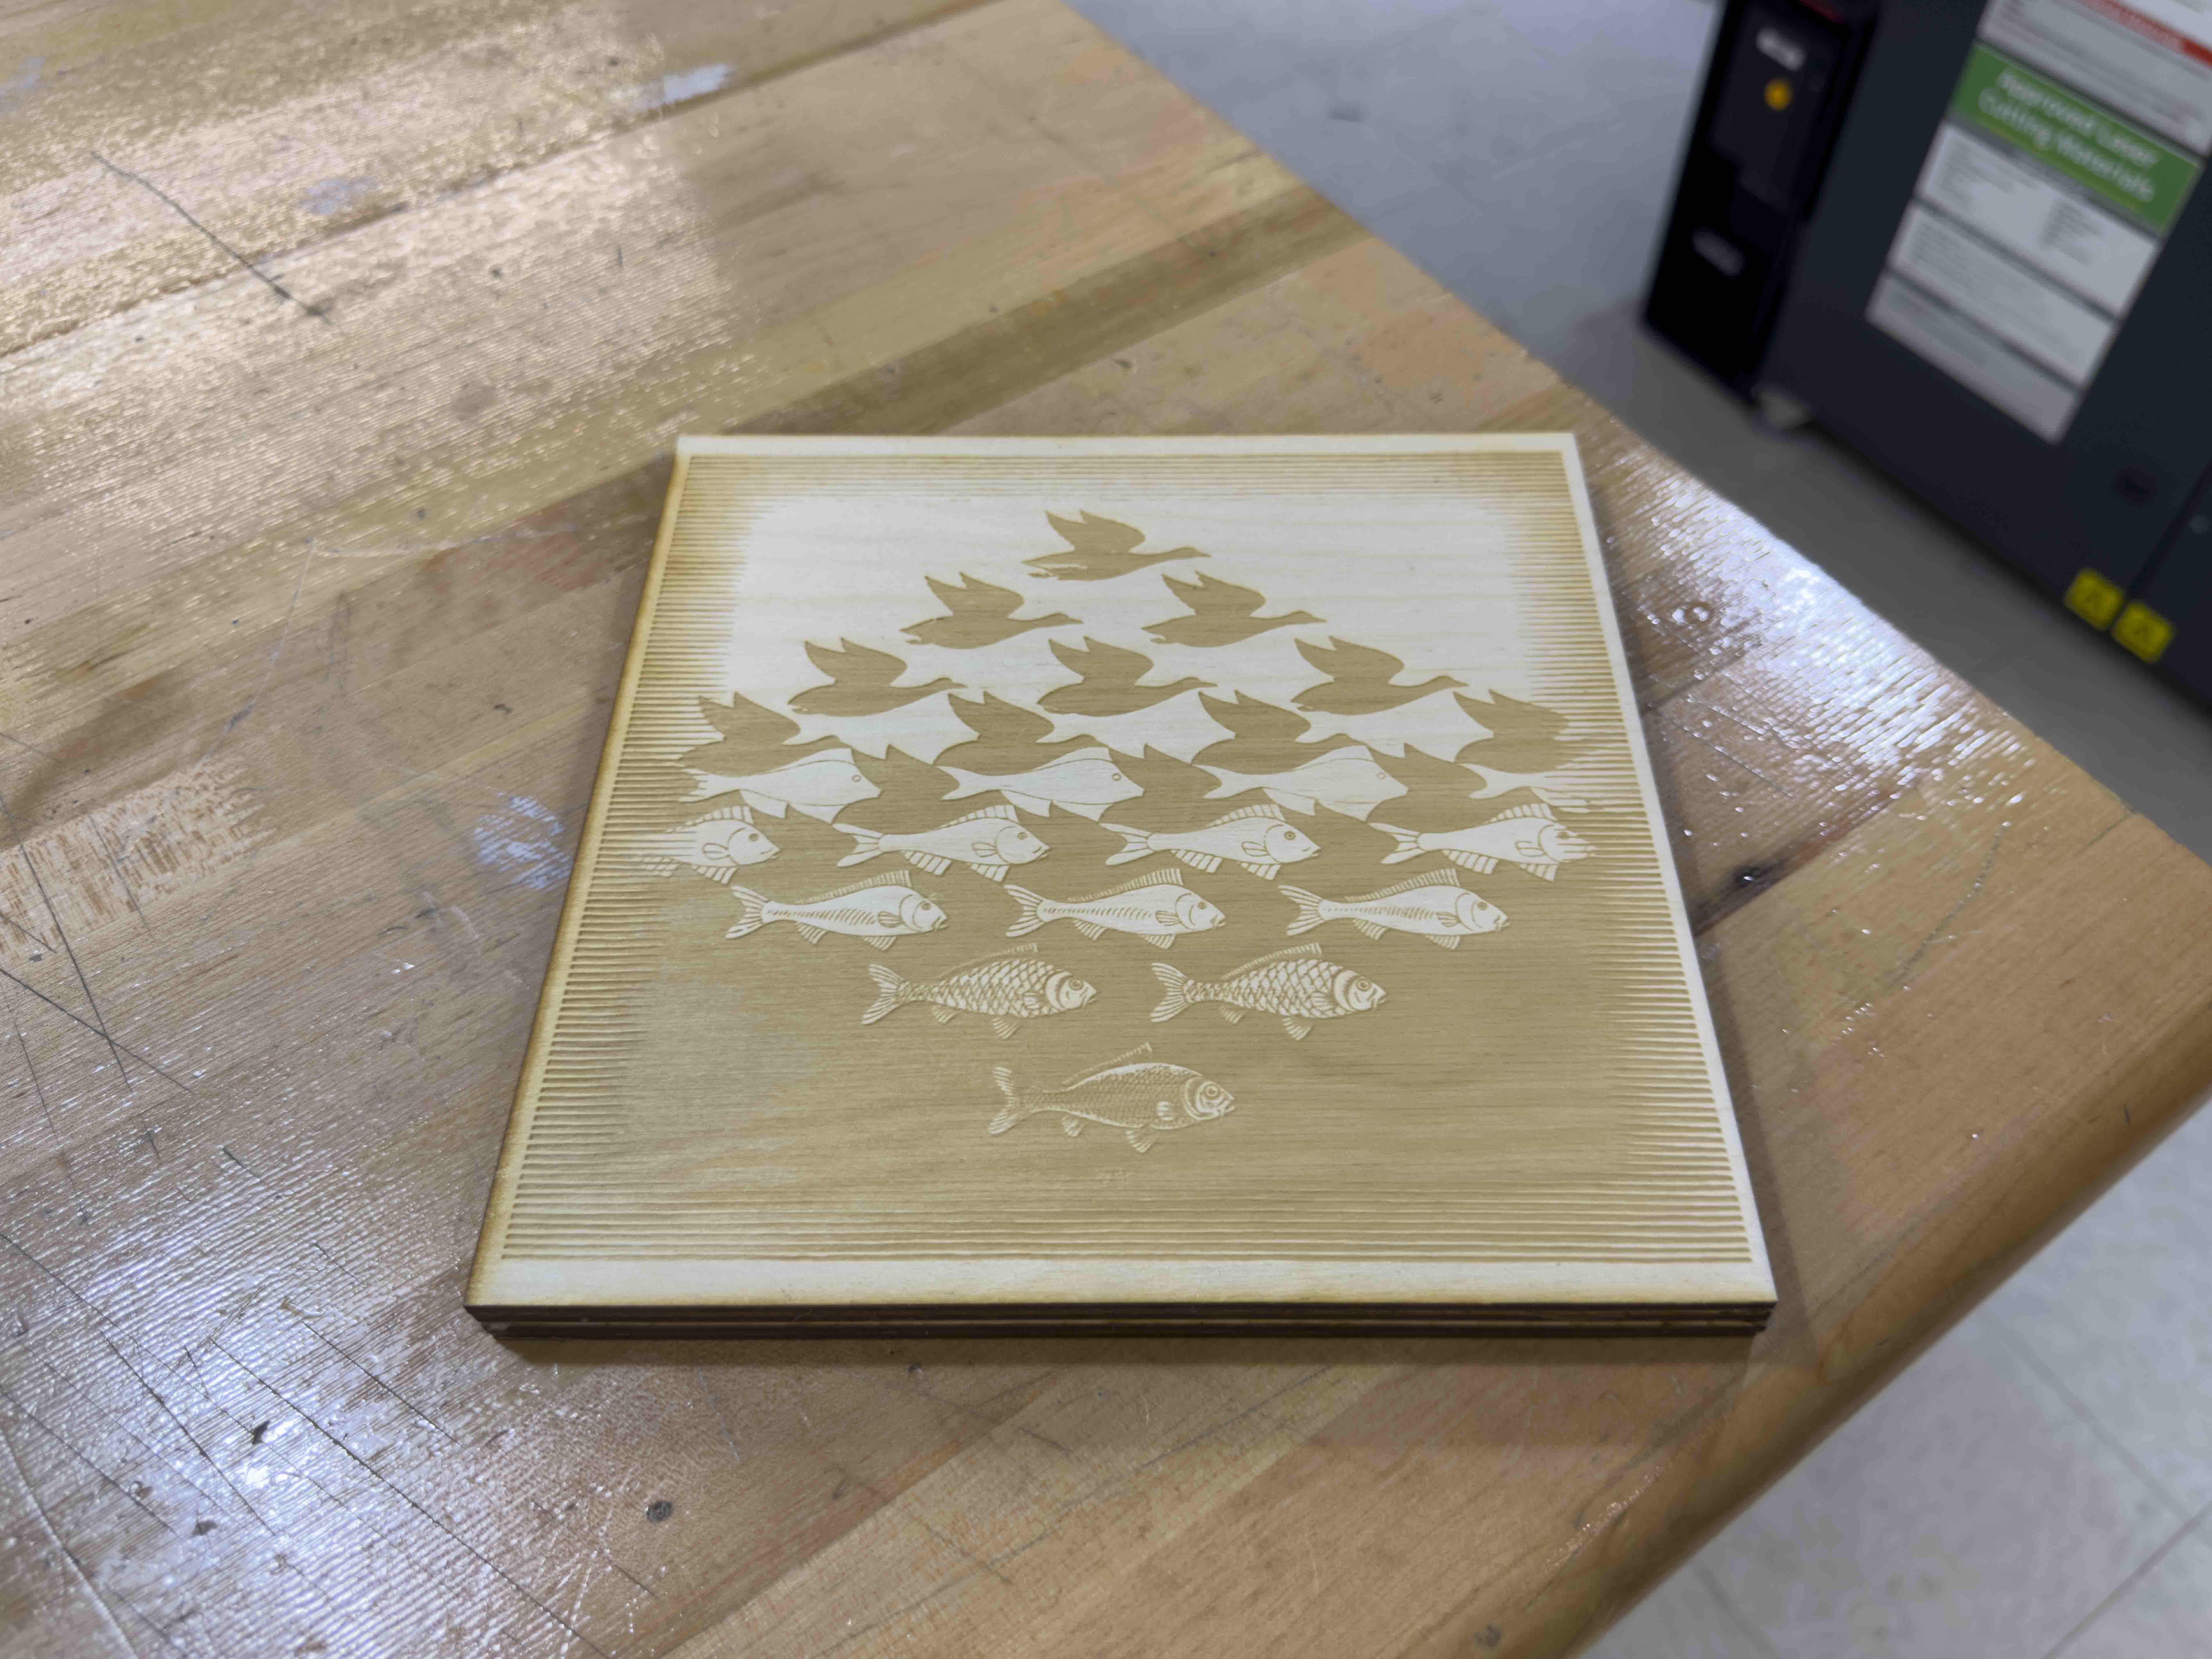
MC Escher birds/fish engraved on the back.
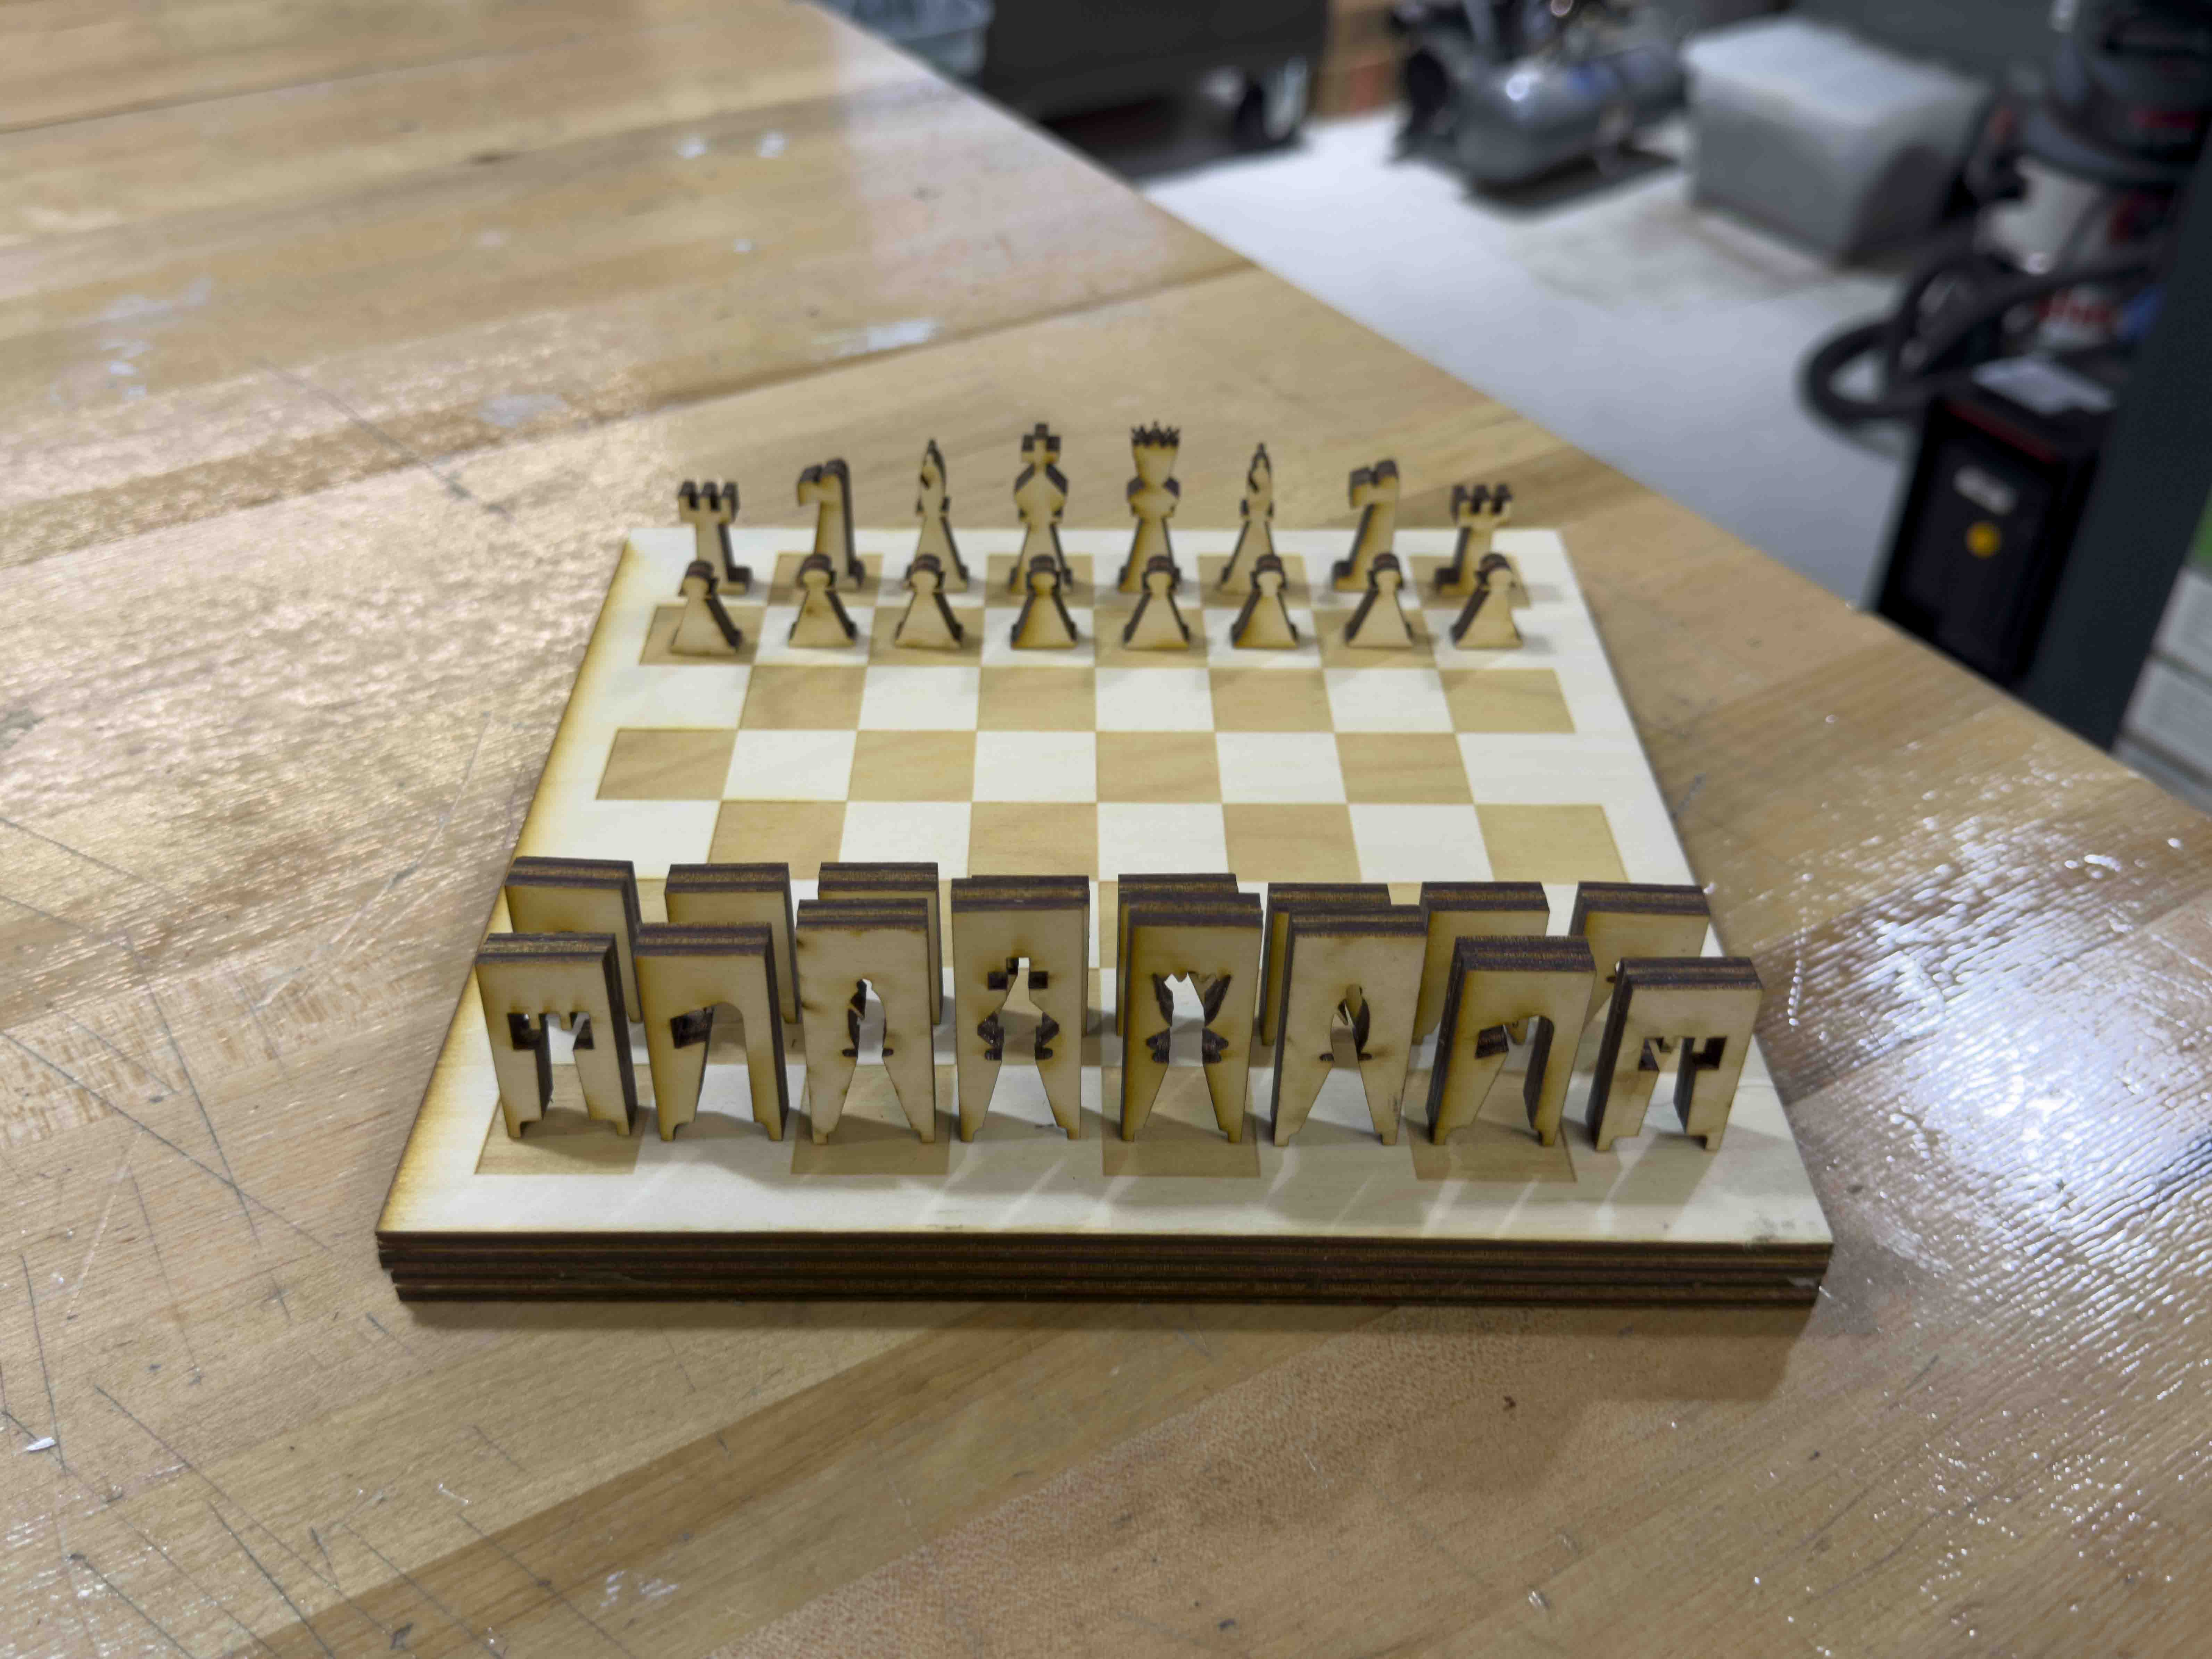
Assembled and setup pieces.
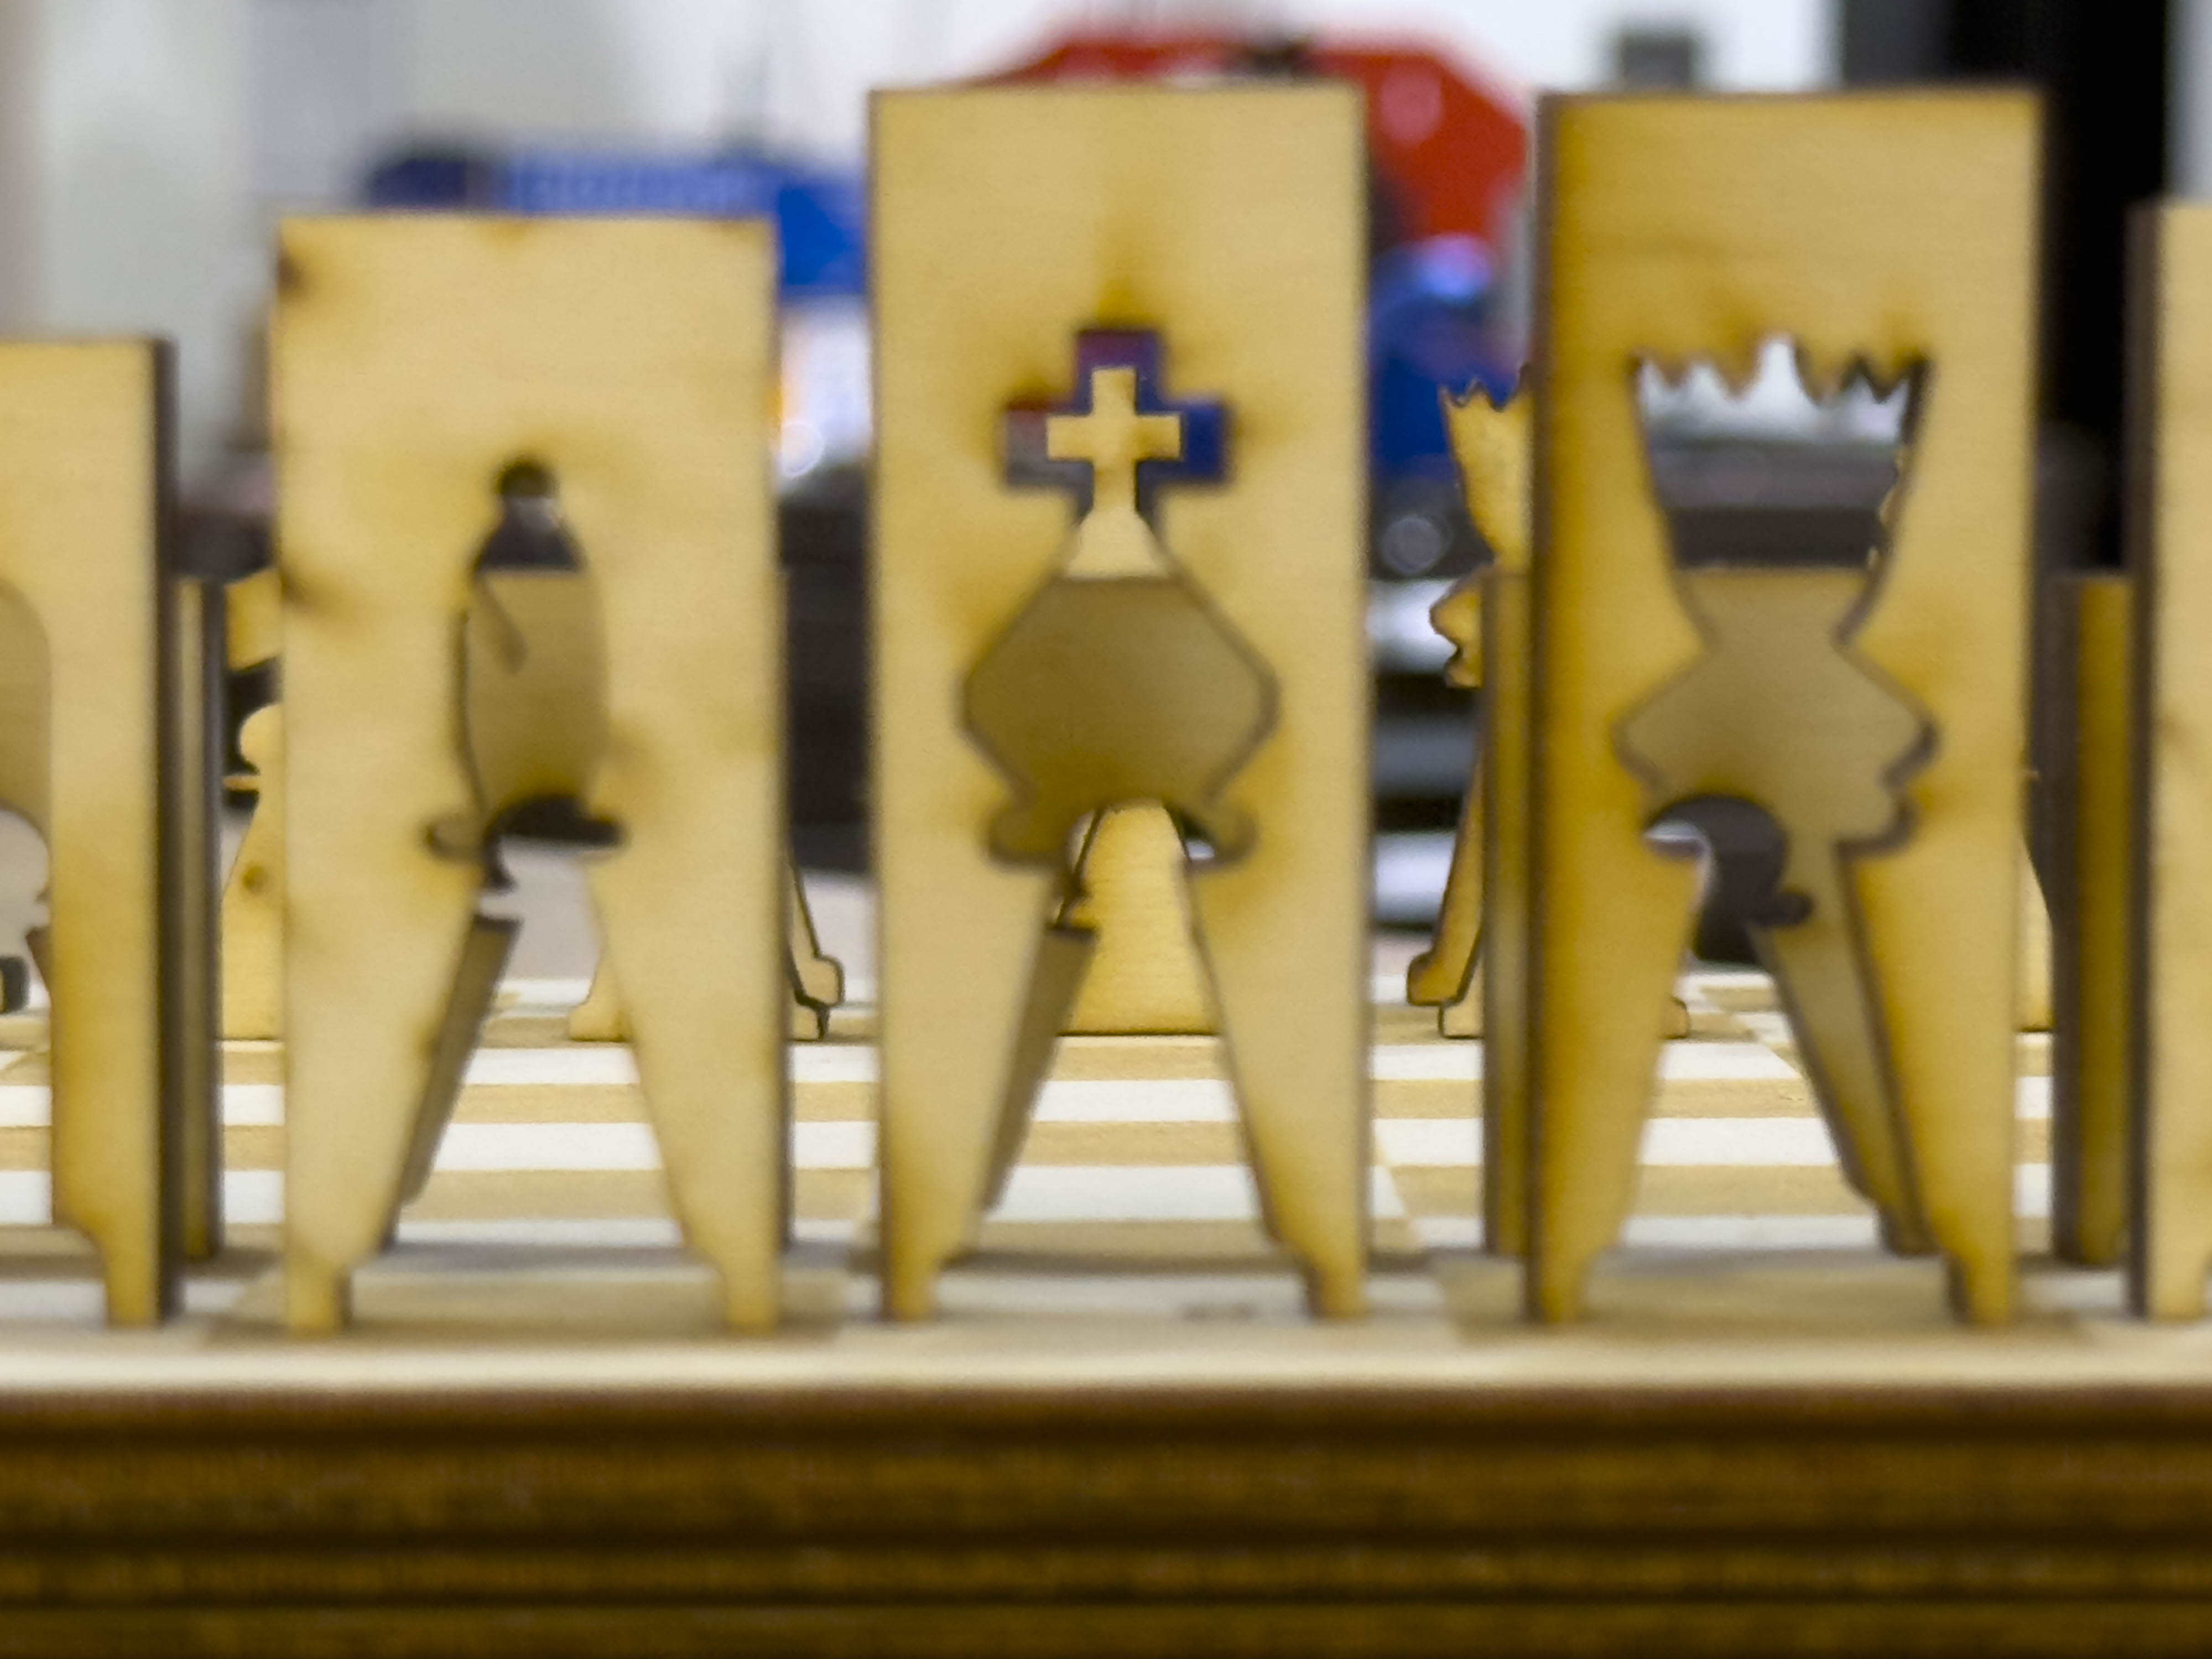
Opposing King (“white”) seen through the outline of the player’s King (“black”).
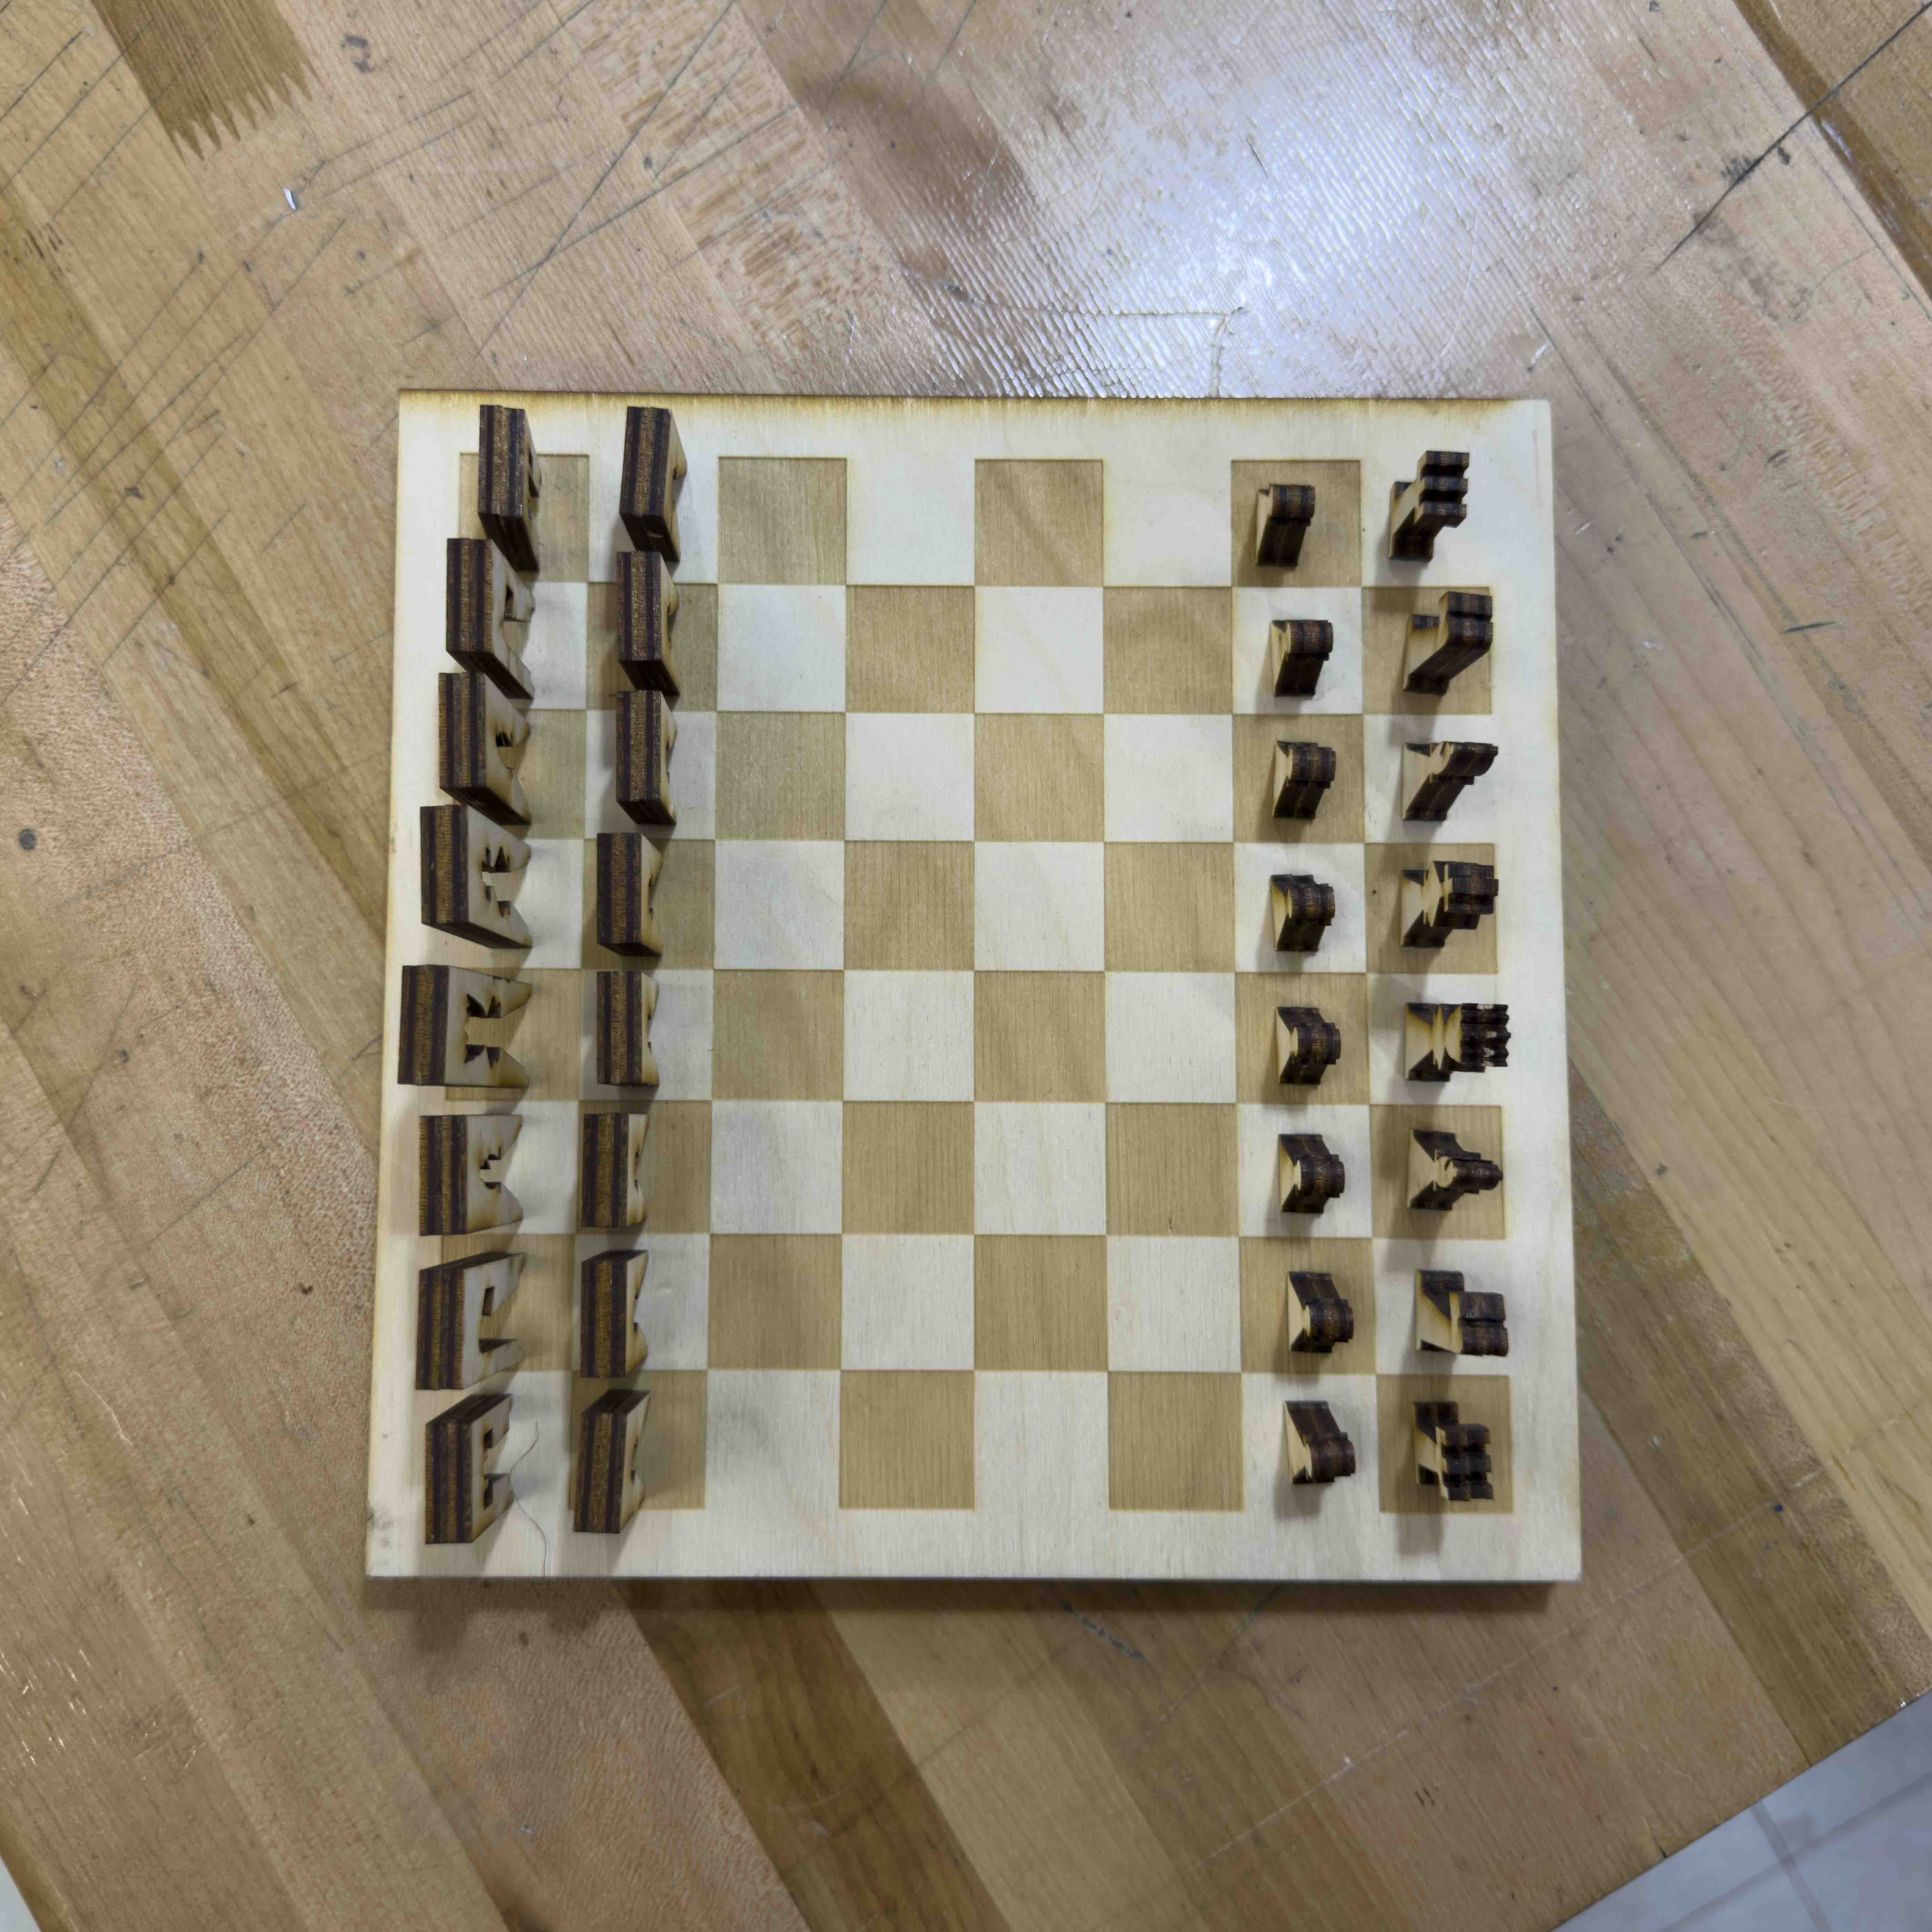
Board viewed from the top-down.
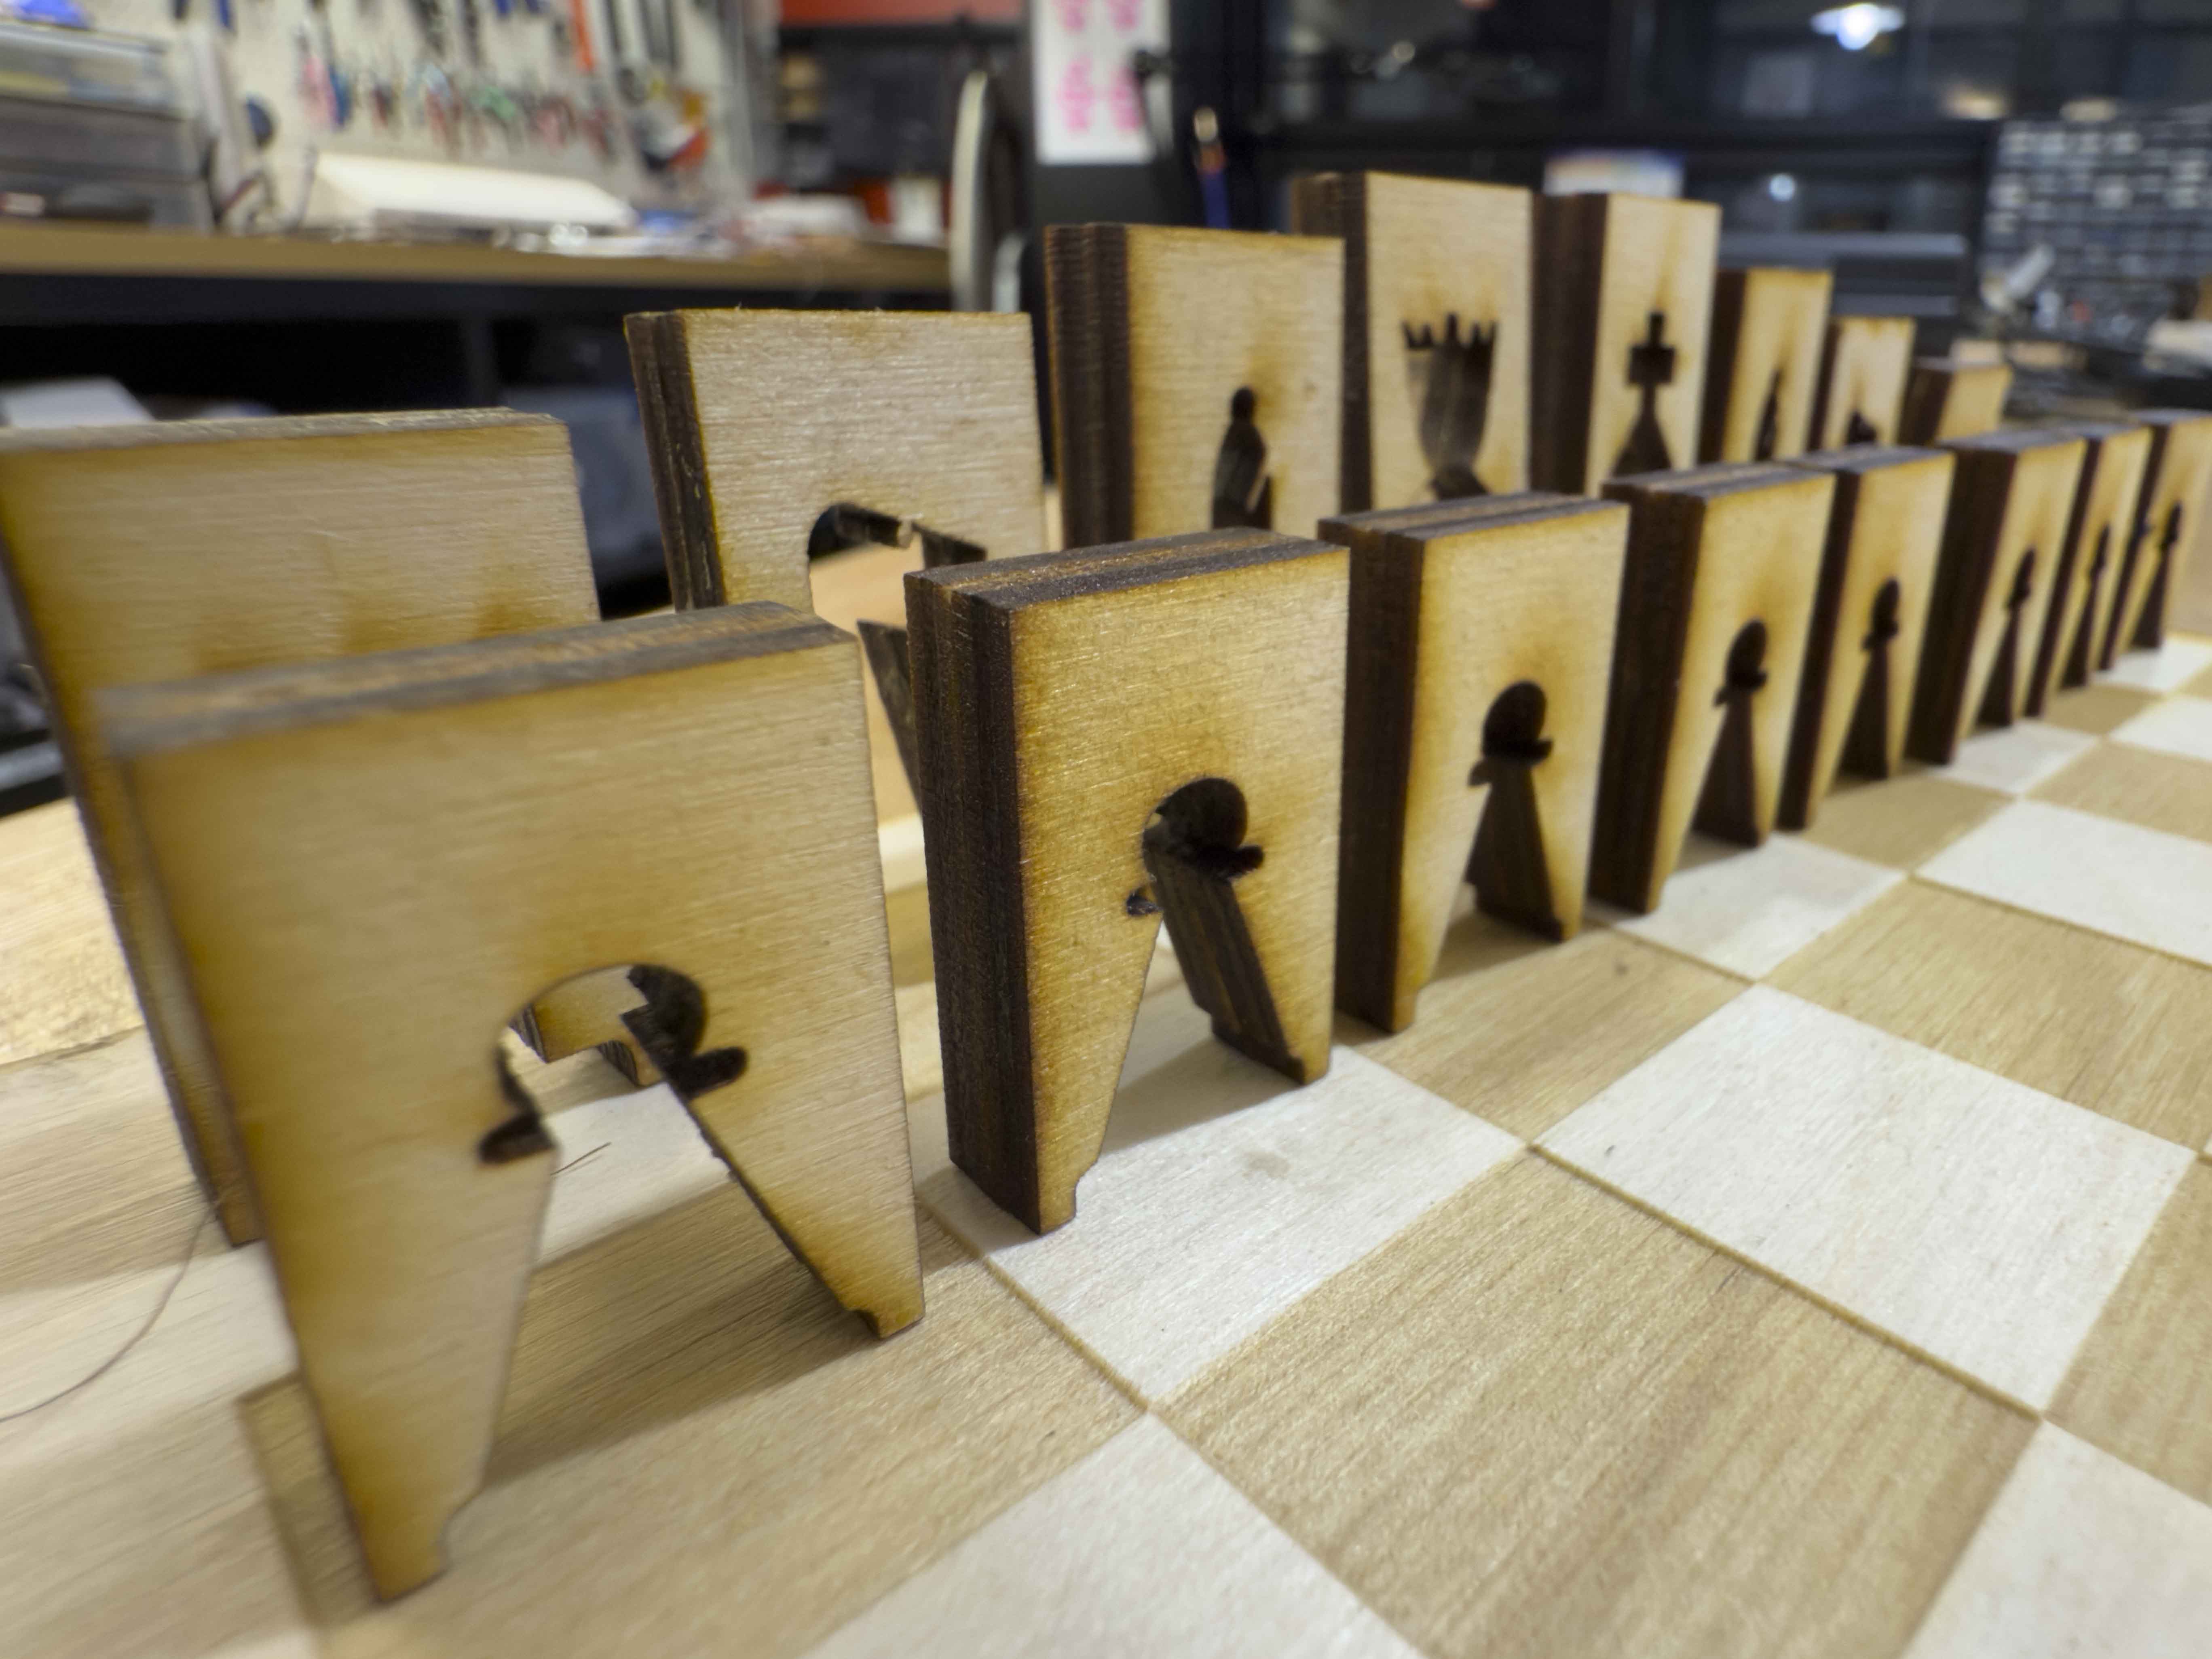
Close-up of “black” pieces.
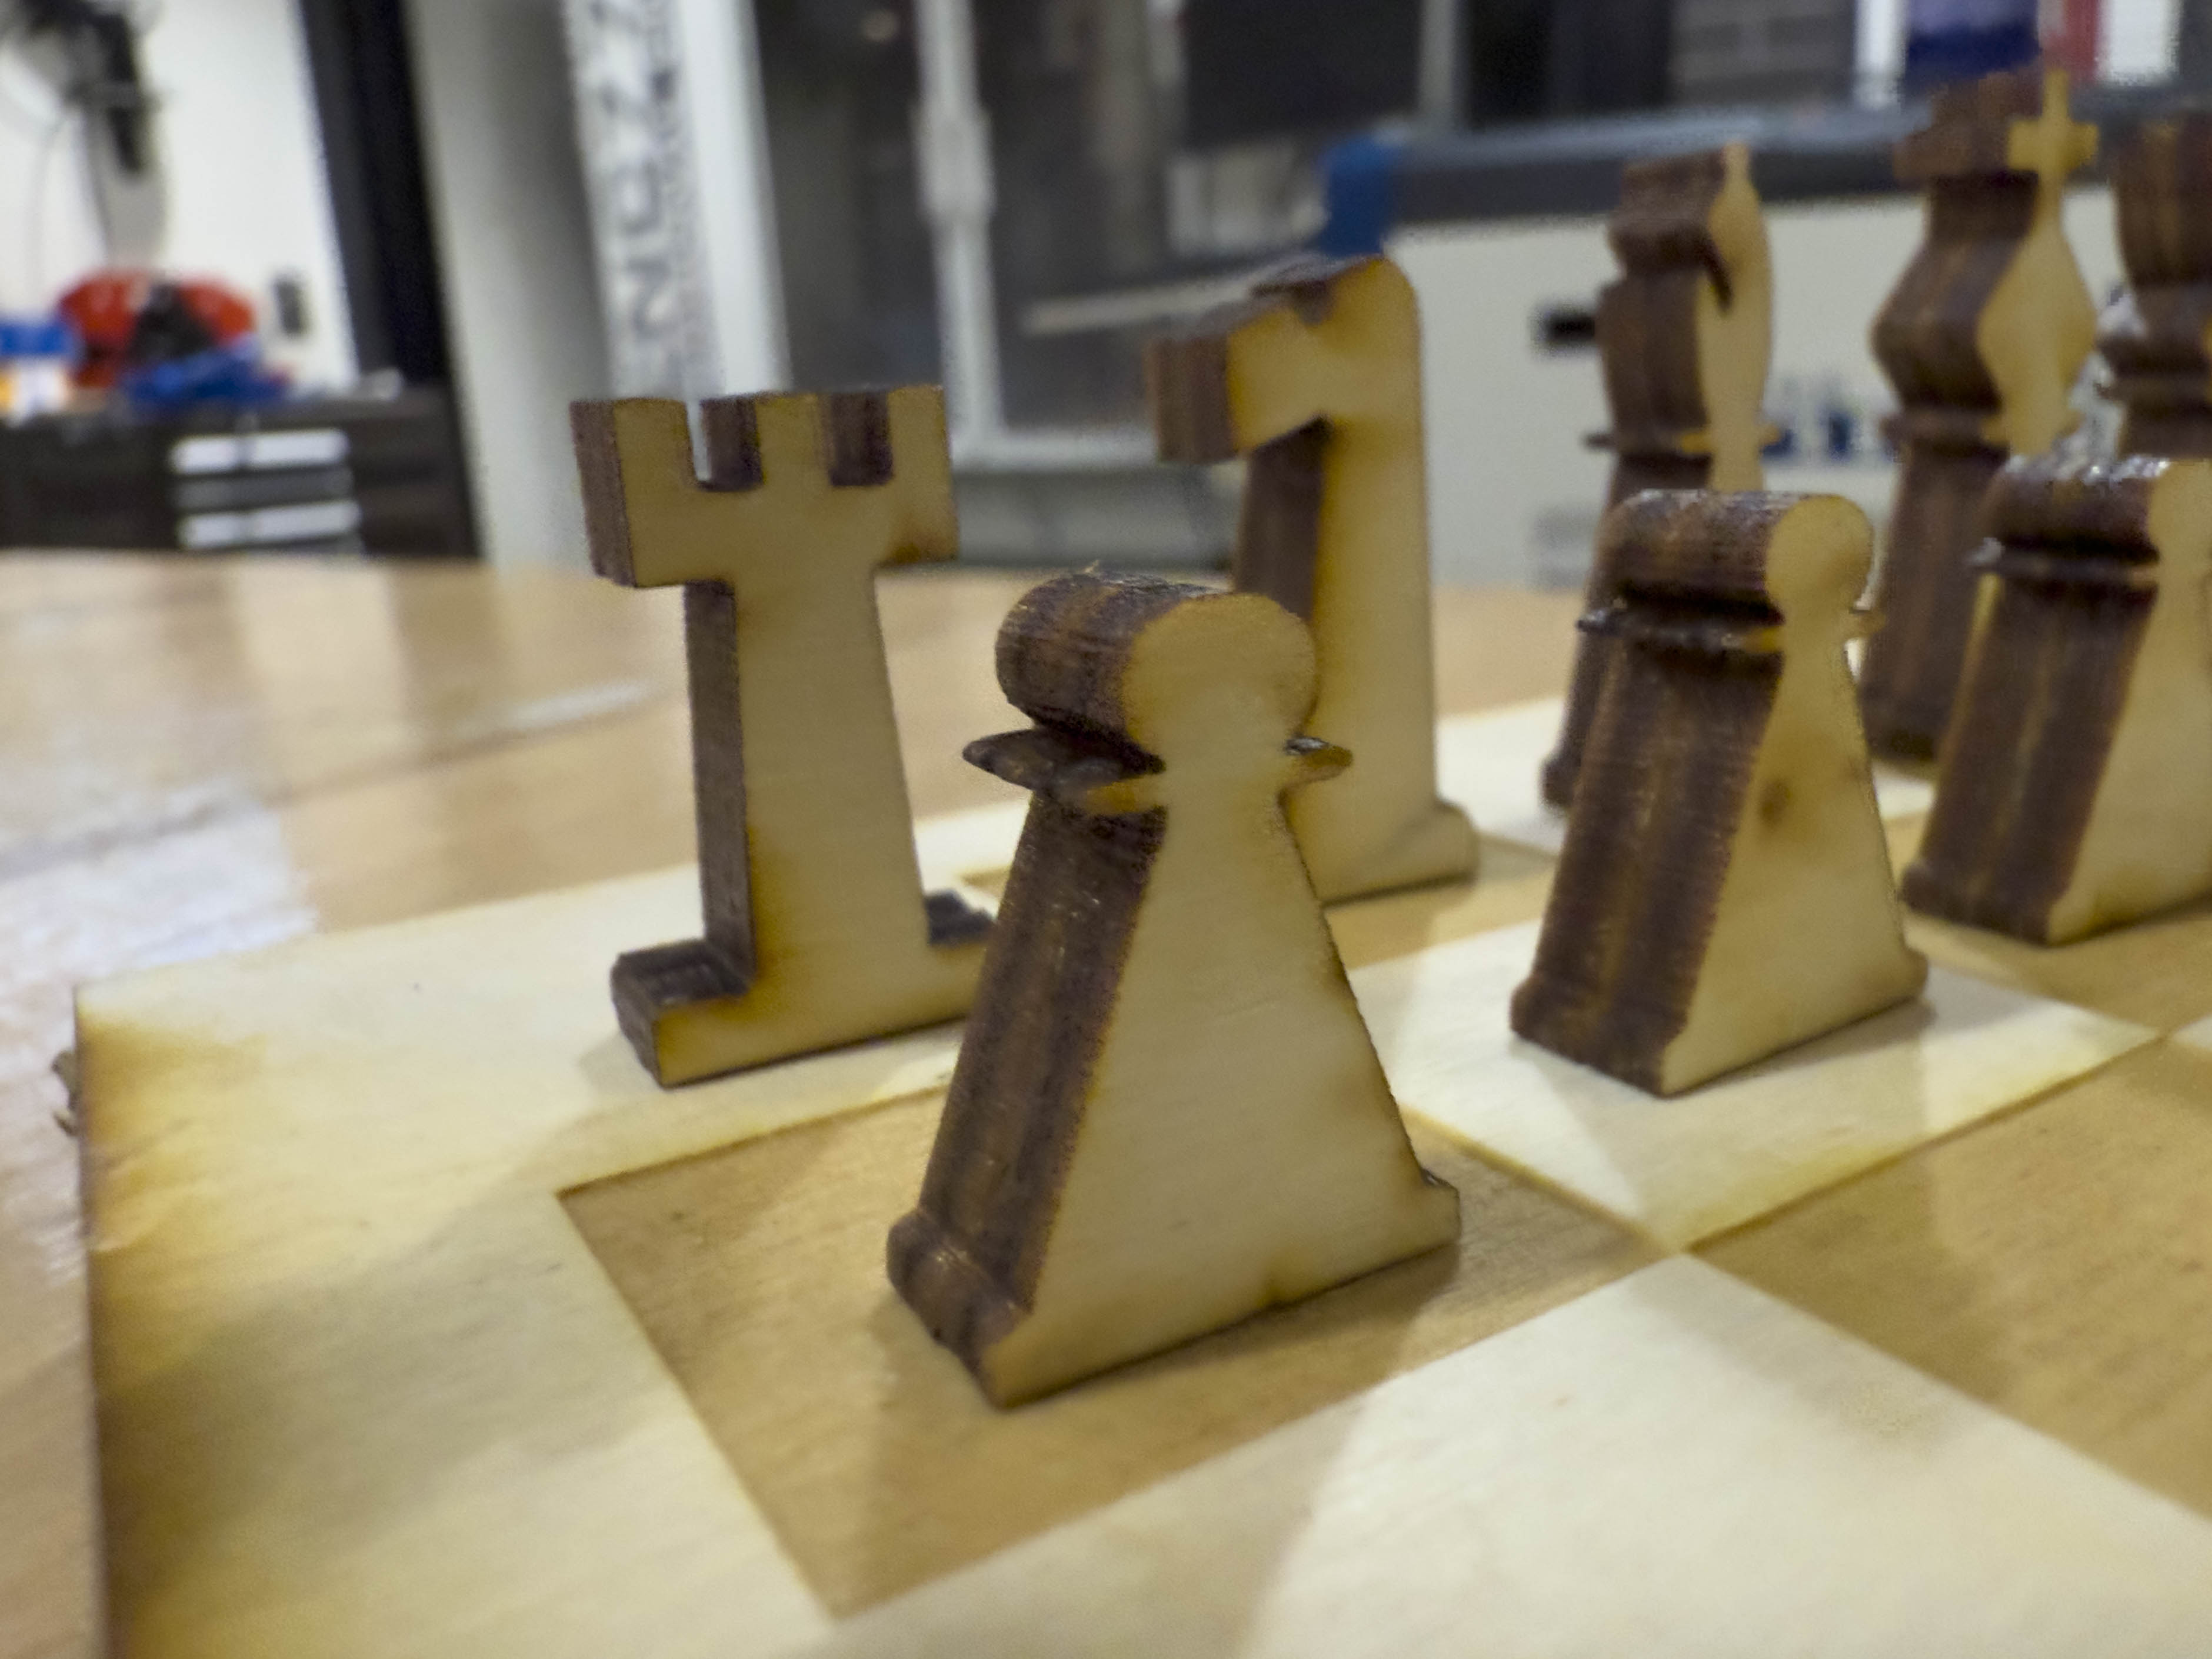
Close-up of “white” pieces.
This site is open source. Improve this page »